perlegear tv mount instructions
Welcome to the Perlegear TV Mount installation guide! This comprehensive guide provides step-by-step instructions for securely mounting your TV‚ ensuring optimal viewing and durability.
Overview of Perlegear TV Mount Instructions
The Perlegear TV Mount instructions provide a detailed‚ step-by-step guide to help users successfully install their TV mount. Designed for ease of use‚ the instructions cover everything from unpacking and inventory to final adjustments. Key features include compatibility checks‚ safety precautions‚ and troubleshooting tips. The guide emphasizes ensuring proper VESA and wall type compatibility to guarantee a secure and stable installation. With clear directions and visual aids‚ users can achieve optimal viewing angles and a sleek setup. Whether you’re a DIY novice or an experienced installer‚ these instructions ensure a hassle-free experience‚ backed by Perlegear’s customer support and warranty.

Unpacking and Inventory
Carefully unpack all components‚ ensuring no damage or missing parts. Verify the wall plate‚ TV bracket‚ mounting hardware‚ and instruction manual are included for a smooth installation process.
The Perlegear TV mount consists of a wall plate‚ TV bracket‚ and mounting hardware. The wall plate attaches to the wall‚ while the TV bracket secures to your television. The mounting hardware includes bolts‚ screws‚ and spacers for a sturdy installation. The design allows for tilt‚ swivel‚ and leveling adjustments‚ ensuring optimal viewing angles. Familiarize yourself with each part to ensure proper assembly and installation. Properly identifying and organizing these components will streamline the installation process and help you achieve a secure and efficient setup for your TV. Always refer to the manual for specific part details and compatibility. Before starting the installation‚ carefully inspect all components of the Perlegear TV mount for any visible damage. Verify that all parts‚ including the wall plate‚ TV bracket‚ bolts‚ screws‚ and spacers‚ are included in the package. Cross-reference the contents with the list provided in the instruction manual to ensure nothing is missing. If any items are damaged or missing‚ contact Perlegear’s customer service immediately for assistance. This step ensures a smooth installation process and prevents delays. Properly checking the components beforehand is crucial for a secure and successful setup of your TV mount. Before installation‚ verify VESA compatibility‚ ensure the wall type suits the mount‚ and gather all necessary tools and hardware for a smooth setup process. Ensuring your TV’s VESA pattern matches the Perlegear mount is crucial for a secure fit. Measure the distance between your TV’s mounting holes horizontally and vertically. Compare these dimensions to the mount’s specifications to confirm compatibility. Most Perlegear mounts support standard VESA patterns‚ but double-checking prevents installation issues. Refer to your TV’s manual or manufacturer’s website for precise measurements. If the VESA pattern exceeds the mount’s range‚ contact customer support for assistance. Proper alignment ensures stability and prevents potential damage to your TV or wall. Always verify compatibility before proceeding with installation for a safe and reliable setup. Before installing the Perlegear TV mount‚ verify your wall type to ensure compatibility. The mount is designed for various wall types‚ including wood studs‚ concrete‚ and drywall. For wood stud walls‚ locate the studs using a stud finder to secure the mount properly. For concrete or brick walls‚ use the provided wall anchors to ensure a sturdy installation. If you have drywall‚ check the weight limit of the mount and use drywall anchors if necessary. Always follow the manufacturer’s recommendations for your specific wall type to avoid damage or instability. Double-check the weight capacity of the mount and ensure it matches your TV’s weight for a safe and secure setup. Proper wall preparation guarantees a reliable installation. Before starting the installation‚ carefully review all safety precautions to ensure a secure and damage-free process. Always test the mount’s stability by gently pulling on it after installation to confirm it is properly secured. Avoid overloading the mount with weights exceeding the recommended limit. Keep children and pets away during the installation process. If you are unsure about any step‚ consult the instruction manual or contact Perlegear’s customer support. Use appropriate tools and wear protective gear if necessary. Ensure the TV is unplugged before mounting to prevent electrical hazards. Properly dispose of packaging materials to avoid accidents. By following these guidelines‚ you can ensure a safe and successful installation.
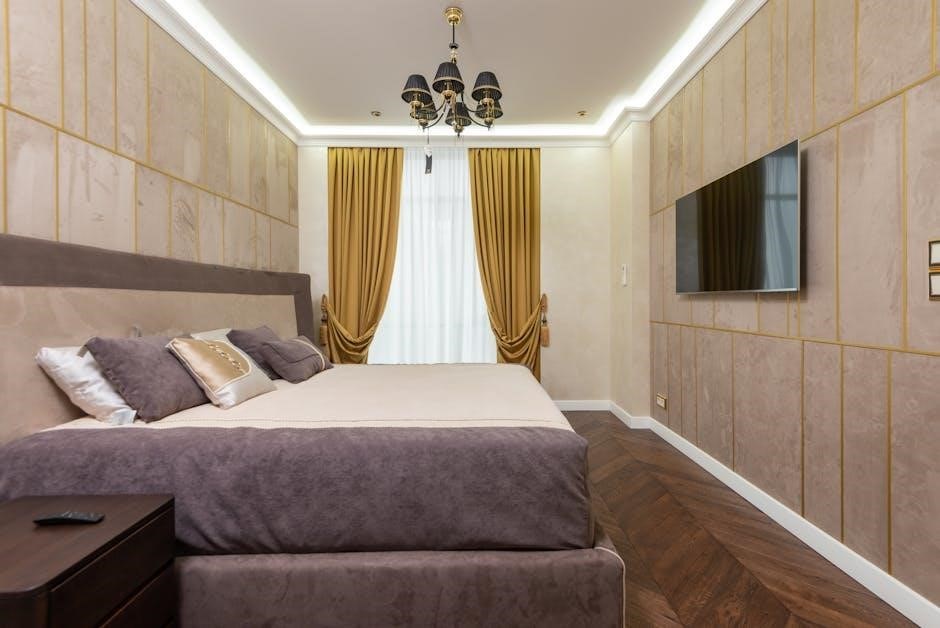
The installation process involves attaching the wall plate‚ mounting the TV bracket‚ and securing the TV to the mount. Follow the detailed steps carefully. Start by locating the wall studs using a stud finder. Align the wall plate with the studs and mark the screw positions. Drill pilot holes if necessary. Insert the provided wall anchors into the holes for added stability. Hold the wall plate against the wall‚ ensuring it’s level‚ and screw it into place using the bolts provided. Tighten firmly but avoid over-tightening. Double-check the plate’s stability by gently pulling on it. Once secure‚ the wall plate is ready for attaching the TV bracket. Always follow the manufacturer’s guidelines for weight limits and compatibility. Attach the TV bracket to the back of your television using the provided screws. Ensure the bracket aligns with the TV’s VESA mounting pattern‚ which was verified during pre-installation checks. Tighten the screws firmly but avoid over-tightening. For larger TVs‚ consider enlisting a second person to help with handling. Once the bracket is securely attached to the TV‚ hang it on the wall plate by aligning the mounting arms. Gently push the TV toward the wall until the arms click into place. Ensure the TV is level and adjust as needed. Finally‚ perform a soft pull test on the TV to confirm the bracket’s stability. Once the TV bracket is attached to the television‚ carefully lift the TV and align the bracket’s mounting arms with the wall plate. Ensure the arms are fully engaged by gently pushing the TV toward the wall until you hear a secure click. For larger TVs‚ consider having someone assist to prevent accidents. After mounting‚ tighten the locking screws located on the wall plate to hold the TV firmly in place. Double-check that the TV is level and adjust the bracket if necessary. Finally‚ perform a soft pull test on the TV to ensure it is securely fastened to the mount. This step is crucial for safety and stability. After securing the TV to the mount‚ adjust the tilt and swivel features to achieve the perfect viewing angle. Loosen the tilt adjustment knob to angle the TV up or down‚ ensuring the screen is level. For swivel adjustments‚ gently turn the TV left or right to position it toward your desired viewing area. Use the included Allen wrench to tighten the knobs once the ideal position is reached. This feature allows you to reduce glare from lights or windows and ensures the screen is centered for an immersive experience. Proper adjustment ensures a comfortable viewing angle and maximizes the versatility of your Perlegear TV mount. Fine-tune your setup by leveling the TV and tightening all bolts and screws for stability. Ensure everything is secure and aligned for optimal performance. Properly leveling your TV ensures a balanced and visually appealing setup. Use a spirit level to check the TV’s alignment on the wall mount. If the TV is not level‚ adjust the mounting brackets by loosening the bolts slightly and tilting the TV as needed. Once aligned‚ tighten all screws securely to maintain stability. This step prevents uneven viewing angles and potential damage to the mount or TV. For optimal results‚ refer to the Perlegear instruction manual for specific adjustment instructions tailored to your model. This ensures your TV remains perfectly aligned and secure for years to come. After securing the TV to the mount‚ ensure all bolts and screws are tightened firmly to prevent any movement or instability. Use an Allen wrench to tighten the lag bolts on the wall plate and the screws attaching the TV bracket to the television. Be careful not to overtighten‚ as this could damage the TV or mount. Double-check all connections for snugness and stability. Once tightened‚ gently pull on the TV to confirm it is securely fastened to the wall. Properly tightened bolts and screws ensure long-term durability and safety‚ preventing potential accidents or damage to your equipment. Refer to the instruction manual for specific torque recommendations for your Perlegear model. This step is crucial for a stable and secure installation. Common issues may include loose connections or wobbling. Check all bolts and screws for tightness and ensure proper alignment. Verify VESA compatibility and wall stability. If your Perlegear TV mount seems unstable‚ first ensure all screws are tightened securely. Check the wall plate installation and verify it is level. If the issue persists‚ inspect the wall anchors for proper seating. For hollow walls‚ consider using additional support like toggle bolts. Ensure the TV is evenly distributed on the mount arms and that all connections are snug. If wobbling occurs‚ adjust the tilt and swivel mechanisms. Always refer to the manual for specific torque recommendations. Contact customer support if stability issues remain unresolved for further assistance and troubleshooting. Ensure your TV fits the Perlegear mount by verifying its VESA compatibility and size range. If the TV does not align properly‚ check if the mount arms are adjustable or if spacers are needed. Consult the manual for specific VESA patterns and weight limits. If the TV is incompatible‚ contact customer support for guidance or potential mount upgrades. Always double-check the product specifications to confirm suitability for your TV model. Proper installation and alignment are crucial for a secure and stable setup. If issues persist‚ refer to the troubleshooting section or reach out to Perlegear’s customer service for assistance. Congratulations on successfully installing your Perlegear TV mount. Perform final checks to ensure stability and optimal viewing. Enjoy your enhanced home entertainment experience with a 5-year warranty and dedicated customer support. After completing the installation‚ perform a final inspection to ensure all bolts and screws are securely tightened. Verify the TV is level and stable. Test the tilt and swivel functions to confirm smooth movement. Double-check the TV’s alignment and adjust if necessary for optimal viewing angles. Once everything is to your satisfaction‚ connect your devices and enjoy your newly mounted TV. The Perlegear TV mount ensures a sleek and secure setup‚ enhancing your home entertainment experience. For any questions or concerns‚ refer to the provided manual or contact customer support for assistance.Understanding the Components of the Perlegear TV Mount
Checking for Damages or Missing Parts
Pre-Installation Checks
Verifying VESA Compatibility
Ensuring Wall Type Compatibility
Reviewing Safety Precautions
Installation Process
Attaching the Wall Plate
Mounting the TV Bracket
Securing the TV to the Mount
Adjusting Tilt and Swivel for Optimal Viewing
Post-Installation Adjustments
Leveling the TV for Proper Alignment
Tightening All Bolts and Screws
Troubleshooting Common Issues
Resolving Mount Stability Problems
Addressing TV Fit and Compatibility Concerns
Final Checks and Enjoying Your Setup